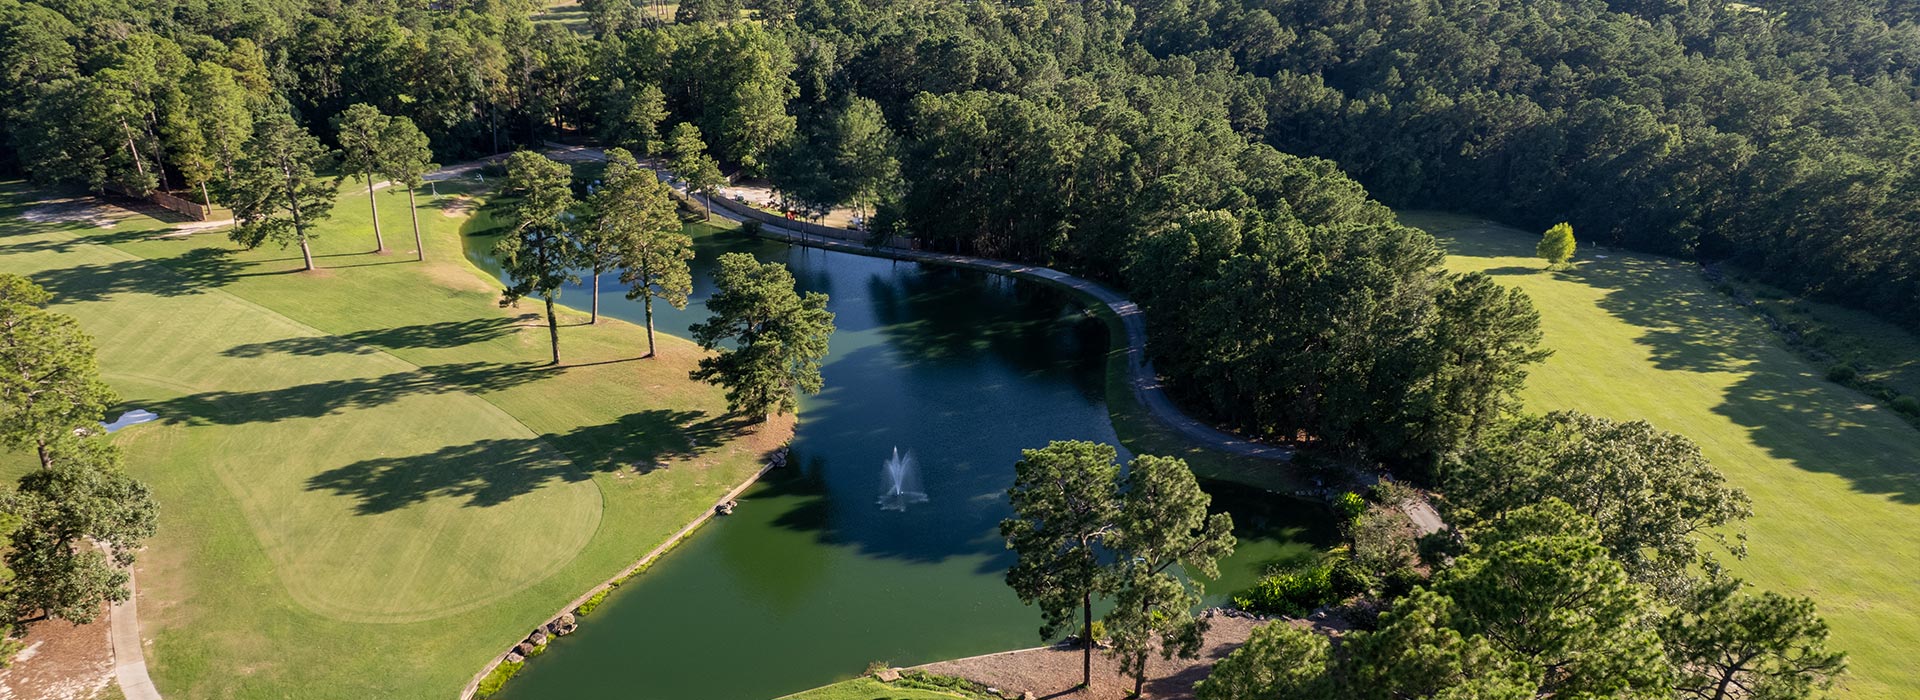
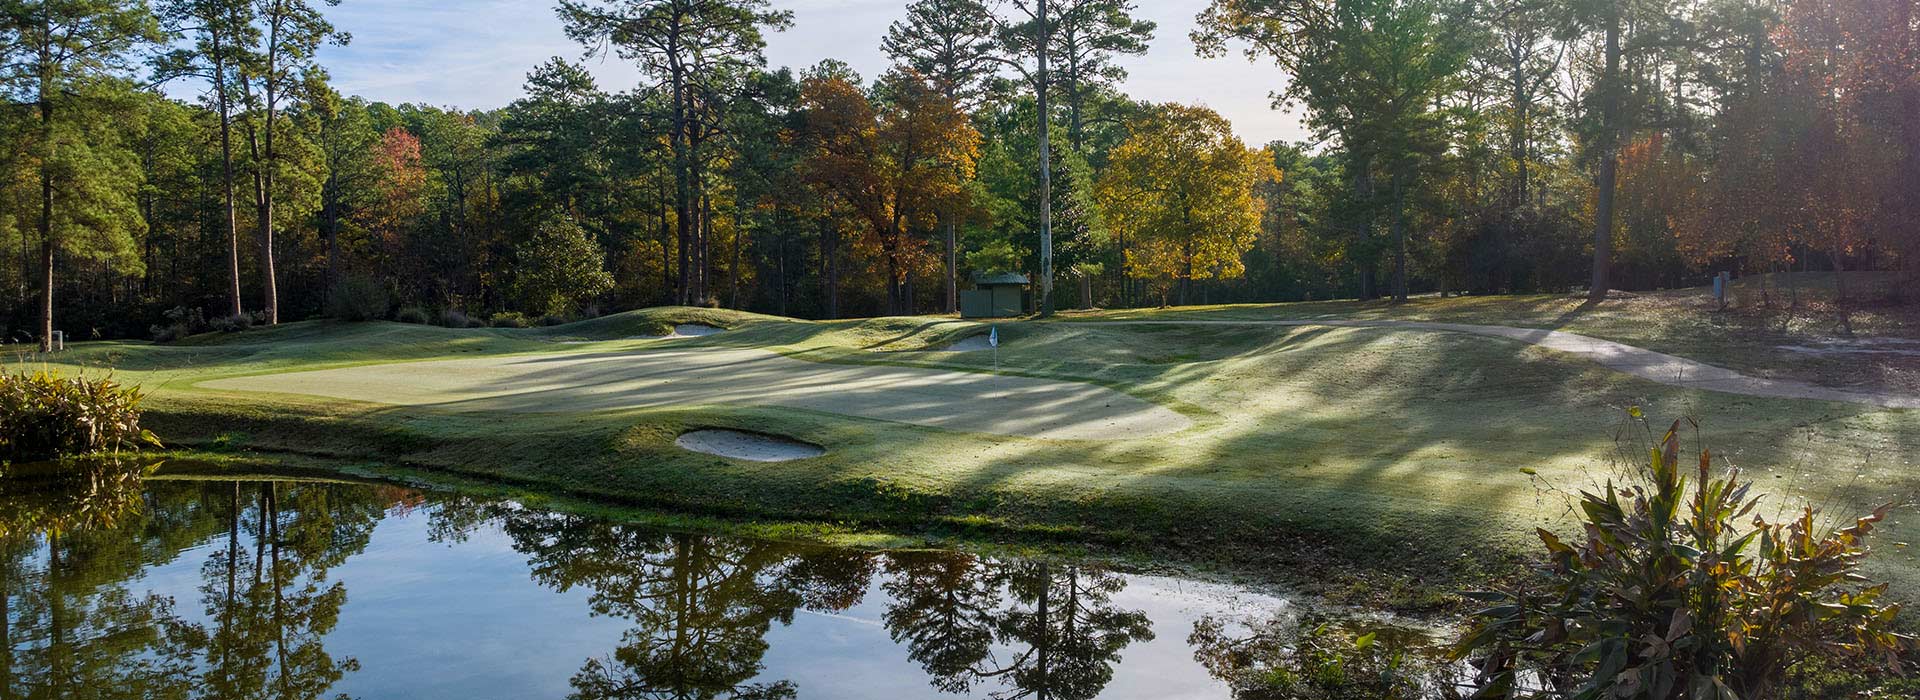
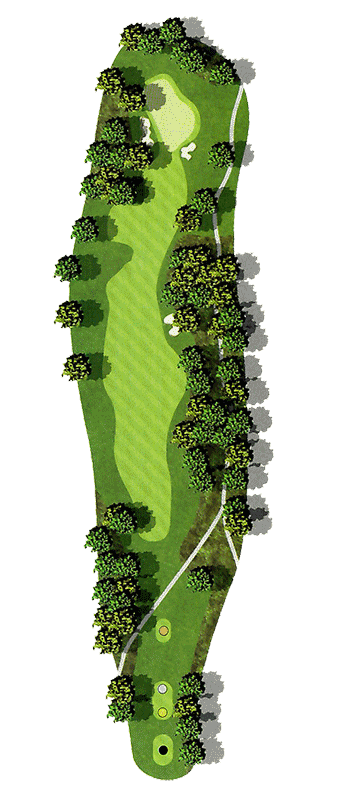
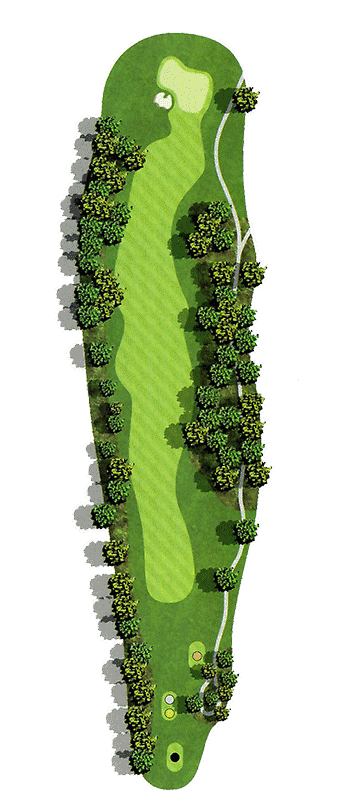
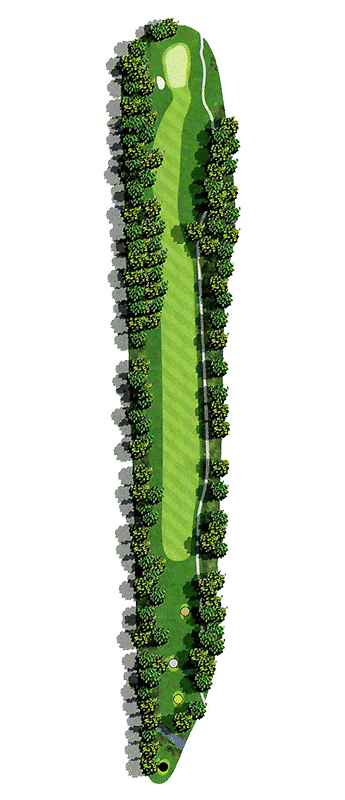
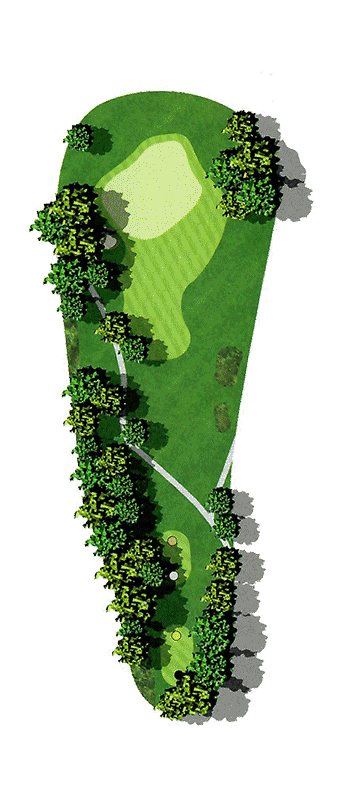
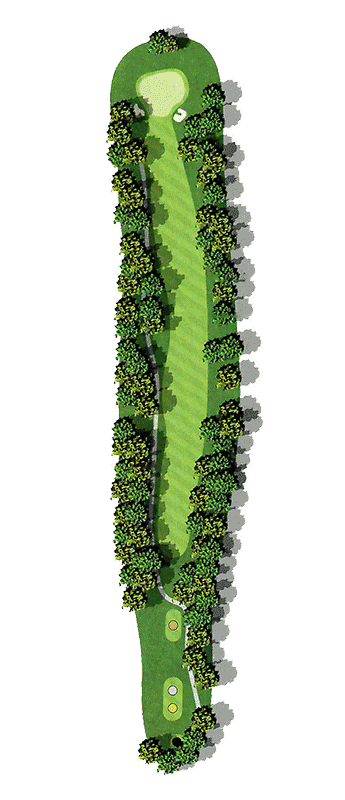
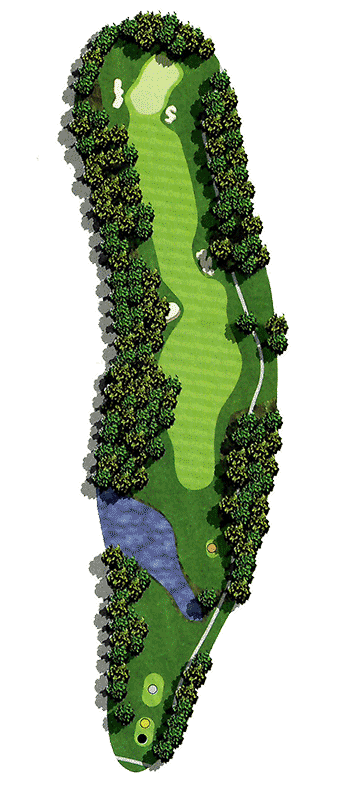
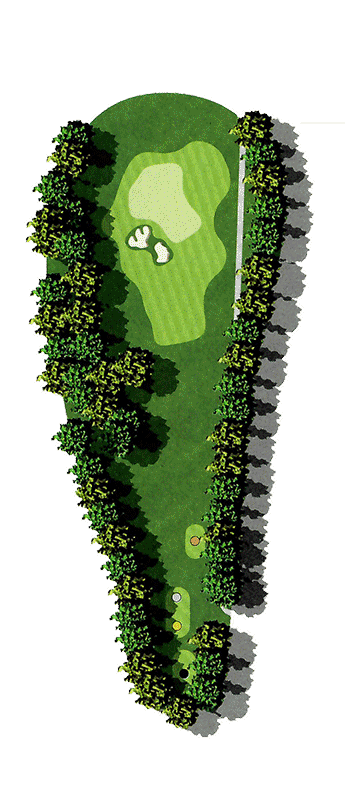
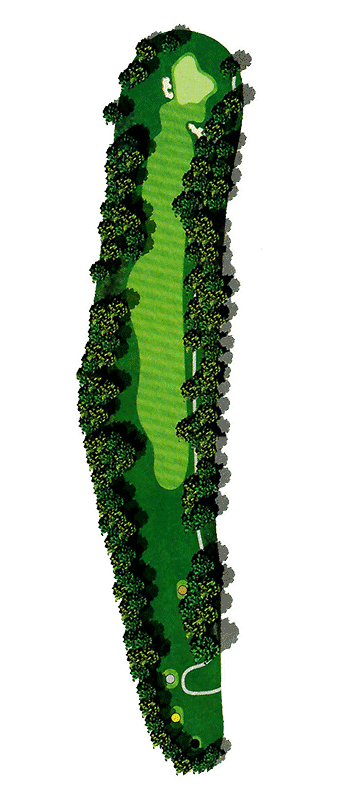
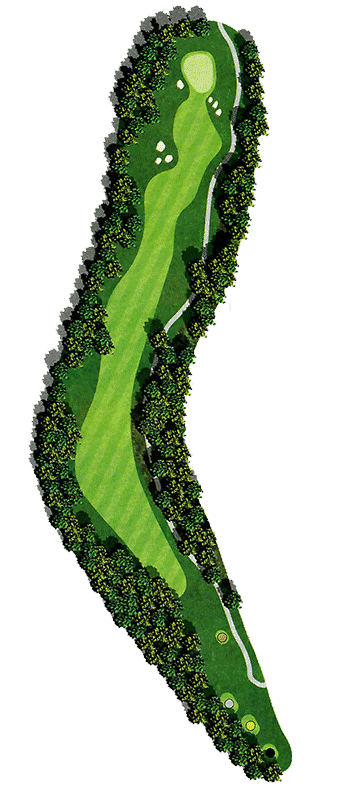
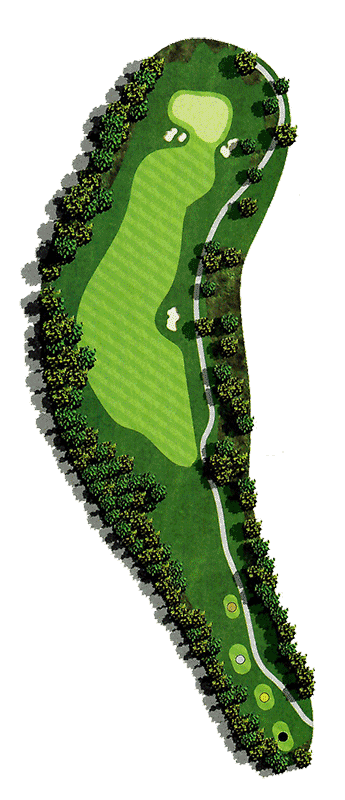
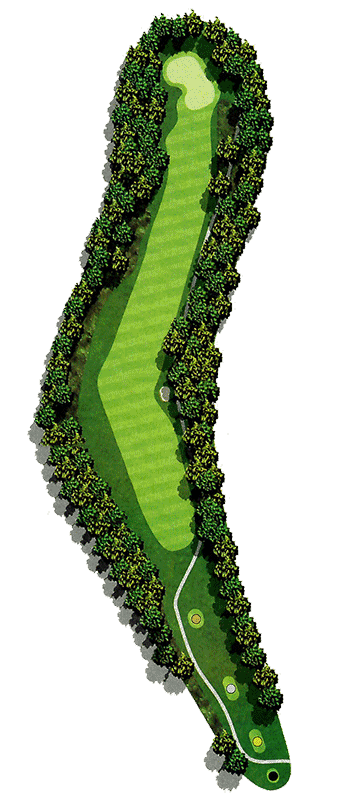
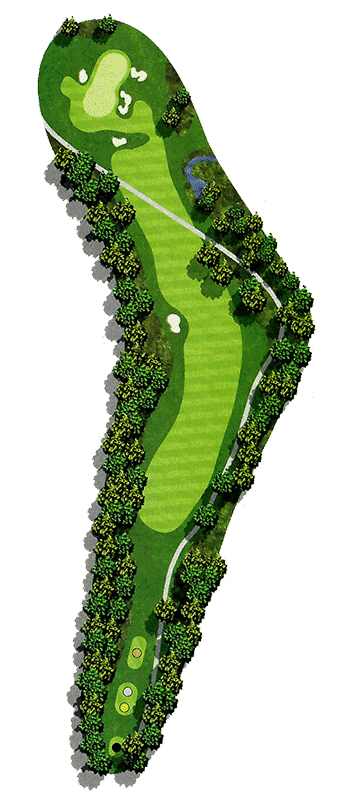
Rayburn Resort Golf Course Water Feature
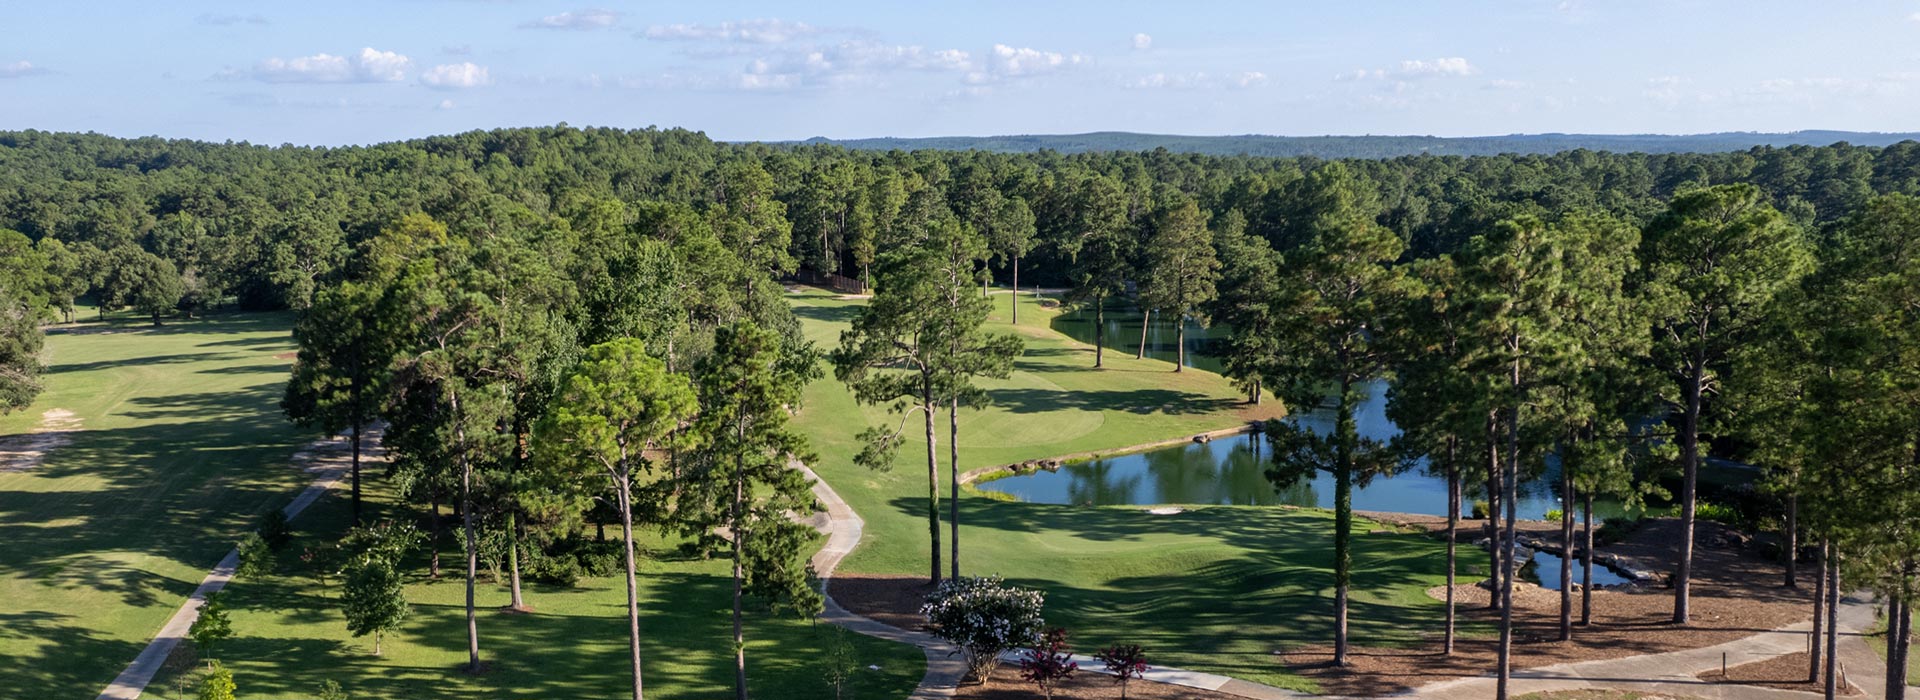
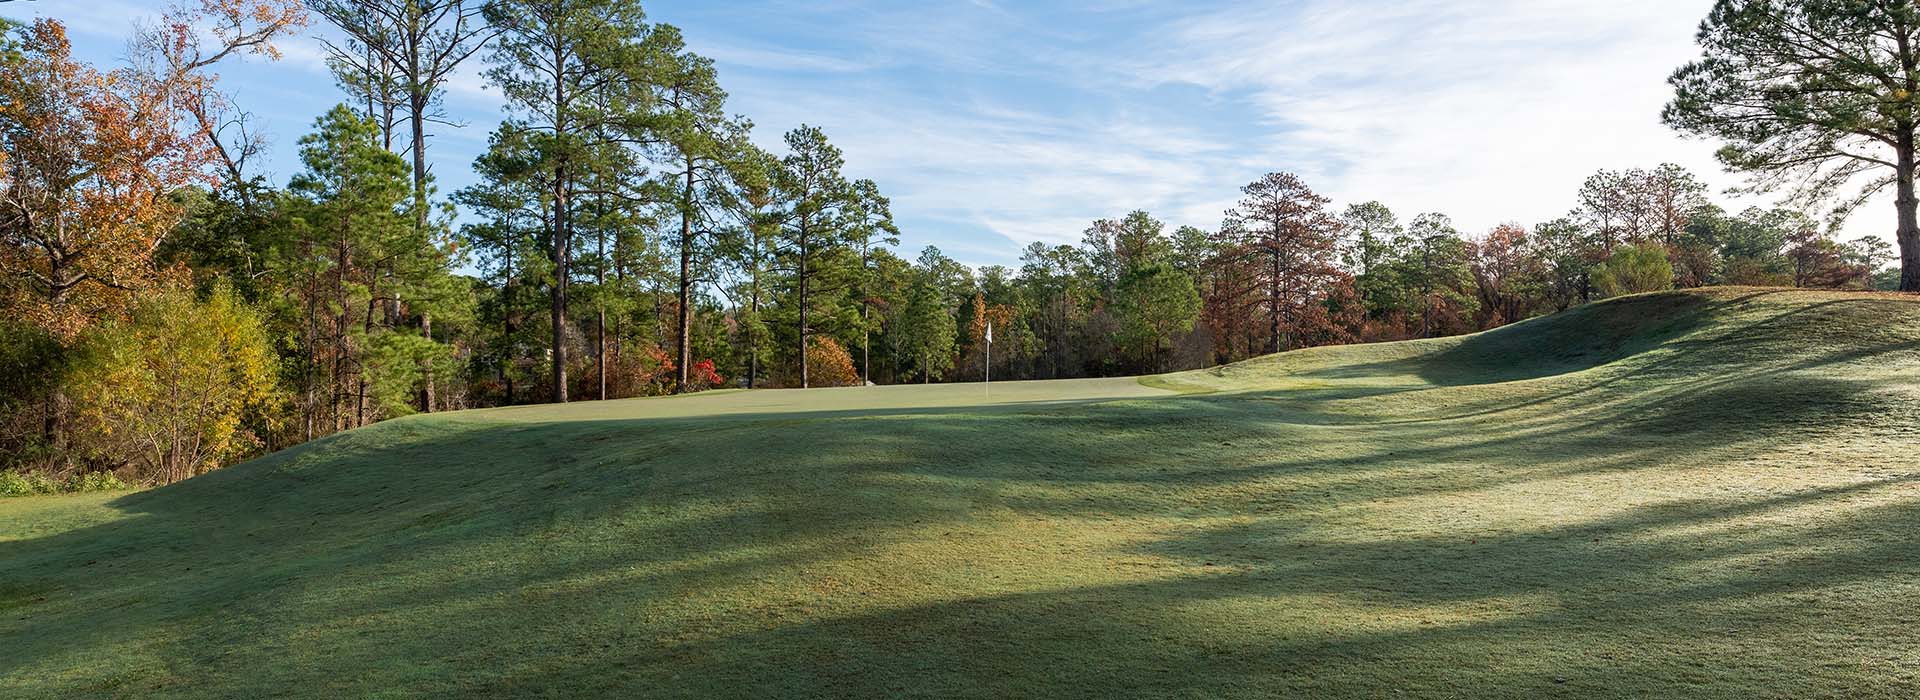
Rayburn Resort Golf Course Greens
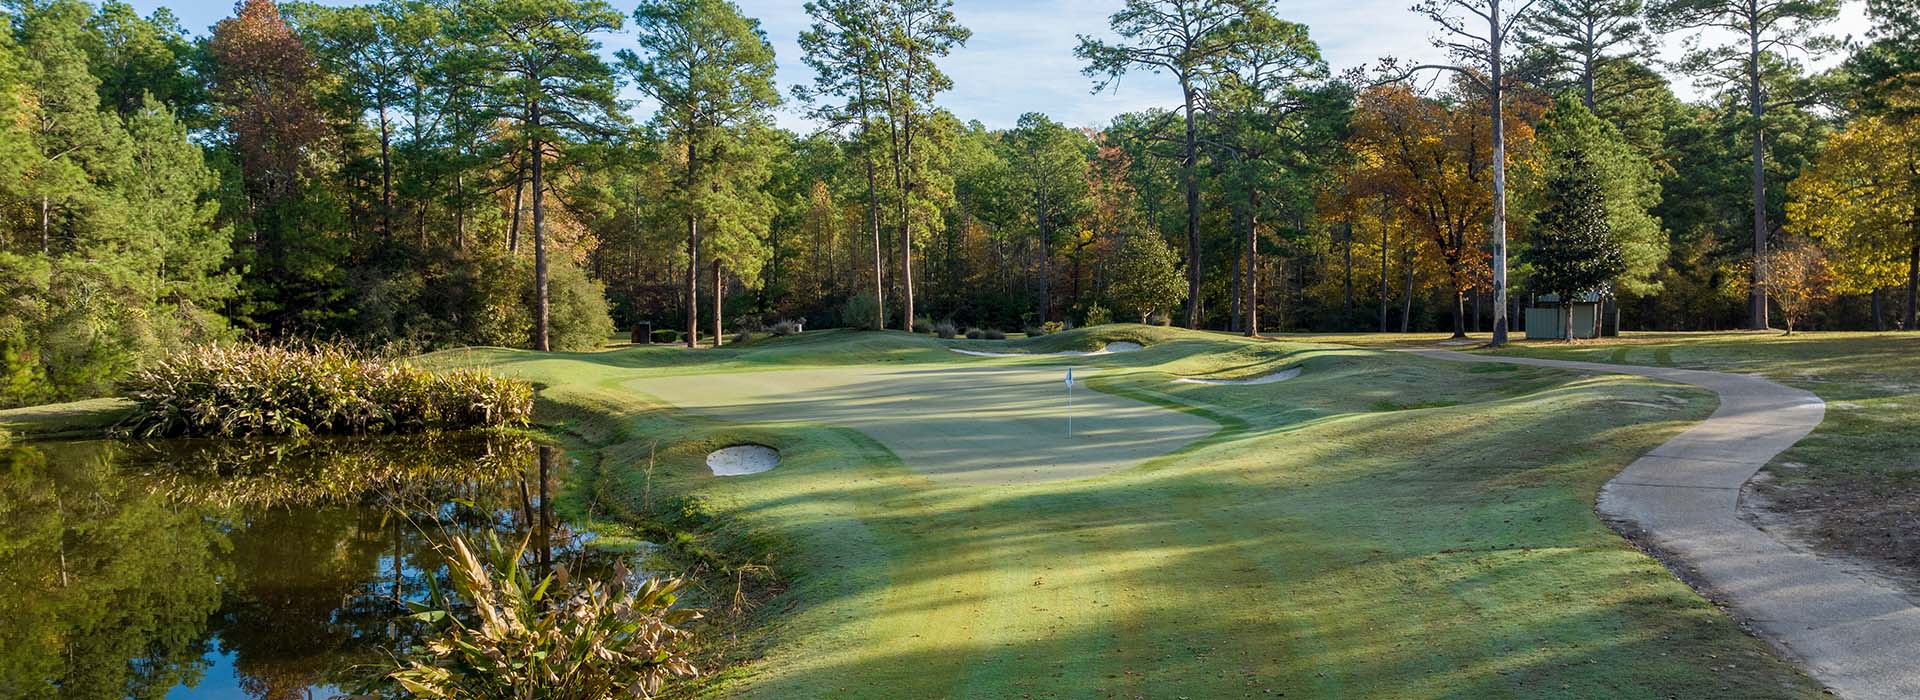
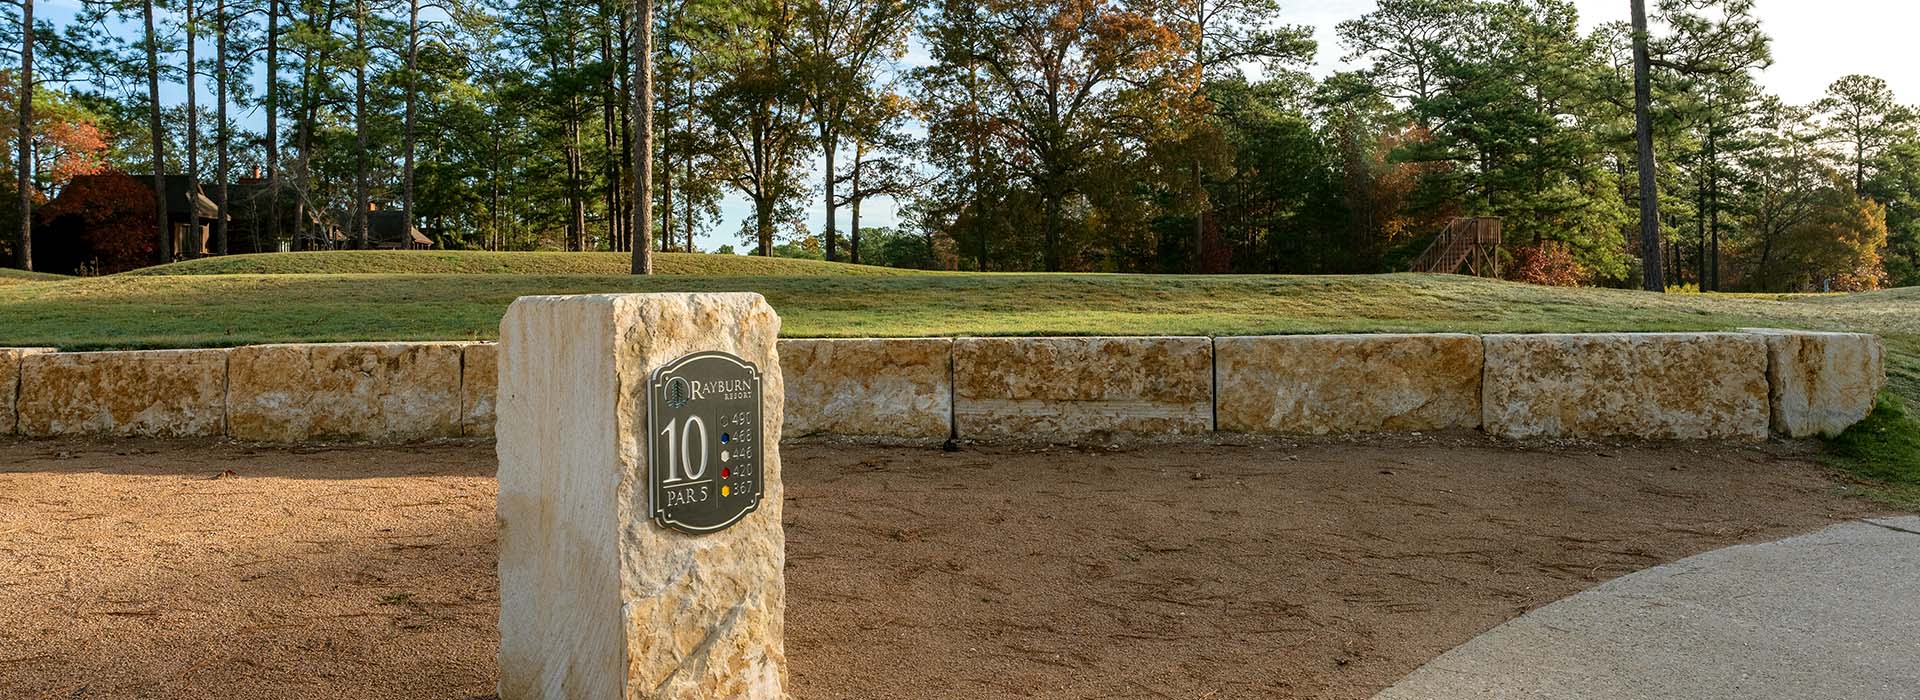
Hole 10 Rayburn Resort
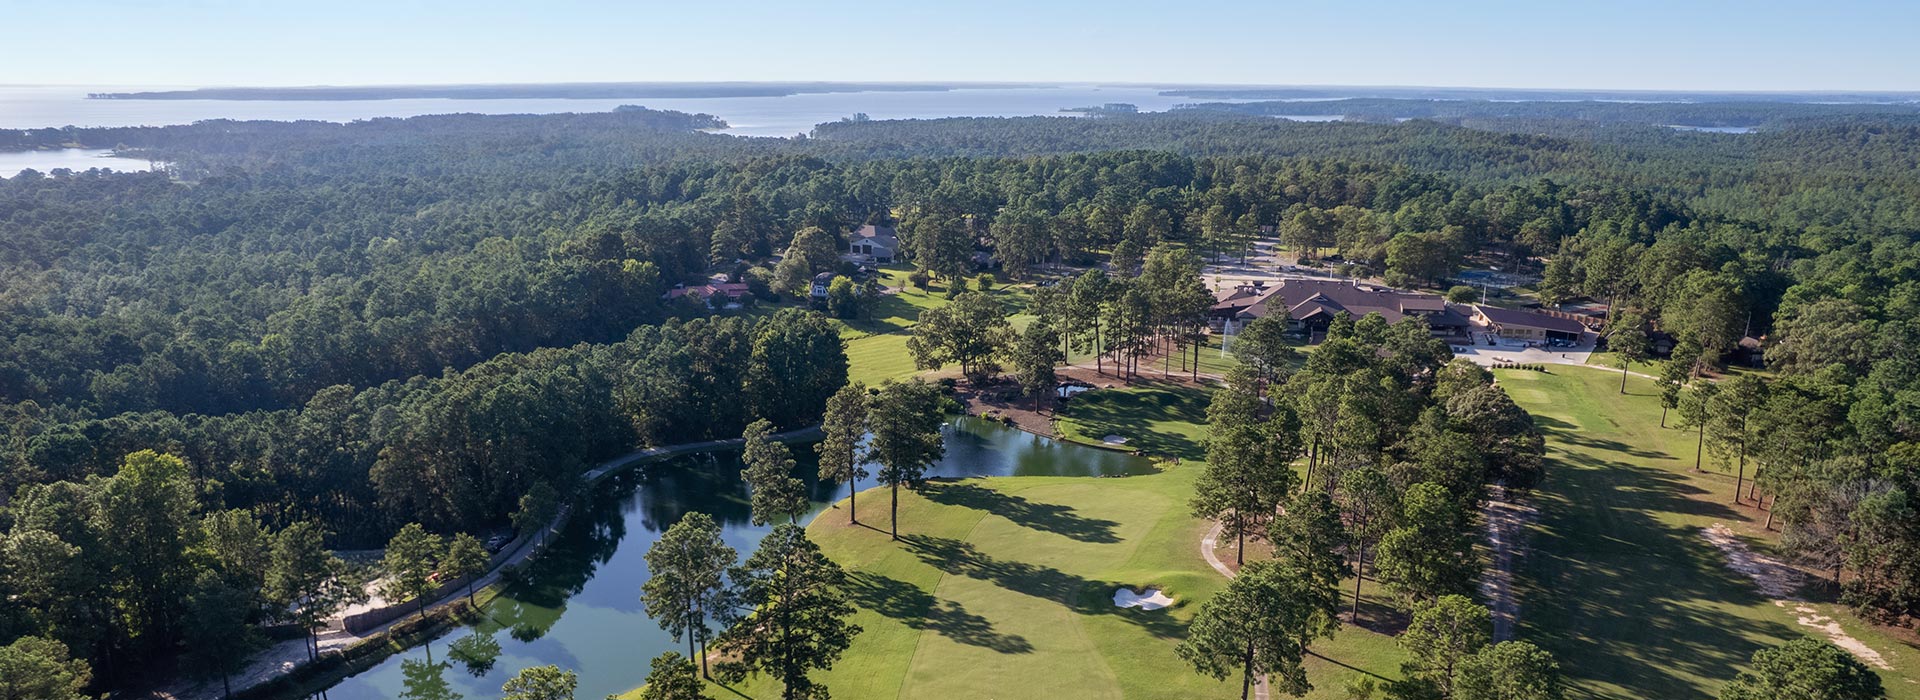
Rayburn Resort Golf Course Elevation

27 Hole Golf Course

Tucked into the hills of Lake Sam Rayburn lies a true diamond in the rough, the 27-hole Rayburn Resort Country Club. The golf course features 150 feet of elevation with new greens, tees, bunkers and manicured fairways for golfers of all levels. The course is three sets of nines:

Front 9

The original nine designed in 1968 by Jay Riviere. This course has water on one hole and includes sand bunkers on every hole, plus six holes with fairway bunkers. The course has wide fairways, and there are 47,700 sq.ft. of greens on this nine.

Back 9

The second nine designed by Robert Trent Jones in 1972. The course features generous landing areas off the tees. This course has the most doglegs (4) and is much tighter than the front nine with challenging approaches. Six of the nine holes offer elevated greens, totaling 52,700 sq.ft.

Family 9

Currently under renovation. The course was designed in 1979 by Robert von Hagge. The course is the most challenging as the greens are small at 29,900 sq.ft. so placement on the tee shot is critical. The driver is often not the choice on the tee, even though this course offers a 600 yard double dogleg.

Hours of Operation
Tuesday-Sunday 7am-6pm
Closed Monday

Treat yourself to an affordable round of golf that will make memories and hopefully a few birdies.

Call our Golf Shop at (409) 698-1014 or click the links below to book a tee time.

Hole 1 – Par 4 / HCP 10

As you begin your round, hug the trees left on this dogleg hole to open up the shot to the green, which angles from left to right. Watch out for the back left hole location as that portion of the green runs slightly away.

Hole 2 – Par 4 / HCP 12

It is probably best to control or restrain yourself off the tee to avoid the trio of bunkers right. Even the safe shot leaves a short, uphill second shot to the three level green that cascades down the hill.

Hole 3 – Par 4 / HCP 14

This downhill hole is an opposing force to the previous hole, and requires a well-judged second shot that certainly cannot go long.

Hole 4 – Par 5 / HCP 6

Long and straight is best on the longest hole of the course. The second shot must avoid the bunker, left, on the lay-up. You just might be thankful for the four bunkers left of the green when you see what you avoided by being in one.

Hole 5 – Par 3 / HCP 18

This beautiful uphill par 3 appears easy but has many challenges. Use the slopes in the green to slide into the proper area.

Hole 6 – Par 4 / HCP 4

The outline of what is necessary on this hole is totally visible from the beginning. Hold the tee shot in the right to left sloping fairway and then hit a precise iron onto the table-top green.

Hole 7 – Par 4 / HCP 8

Choose you first shot wisely, placement is critical for your second shot. The two fairway bunkers must be avoided to prevent this from happening to your round.

Hole 8 – Par 3 / HCP 16

Fairness is not part of golf. Neither are they part of this hole. Be careful when you read this green as it may not be what it appears. 'Just Ace" this hole and you will avoid all issues.

Hole 9 – Par 5 / HCP 2

A long drive down the right will use the slope to provide a reasonable second shot on the course's longest par 4. The bunker right is further from the green than it appears.

Hole 10 – Par 5 / HCP 5

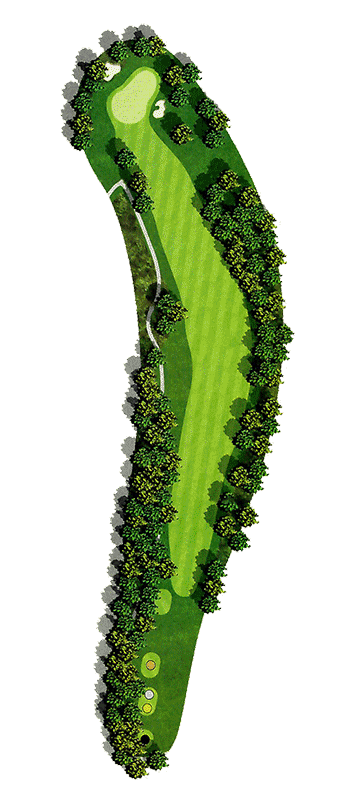
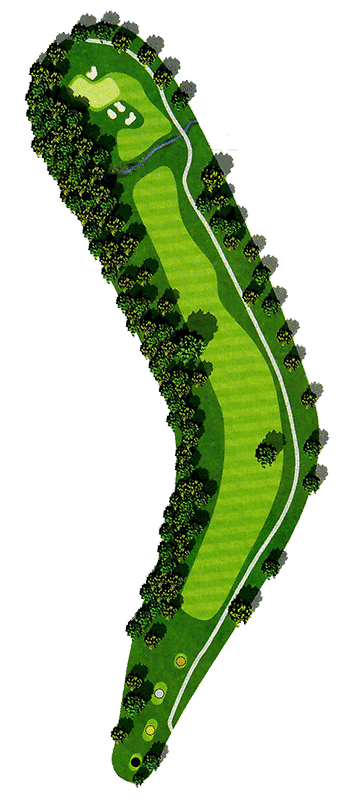
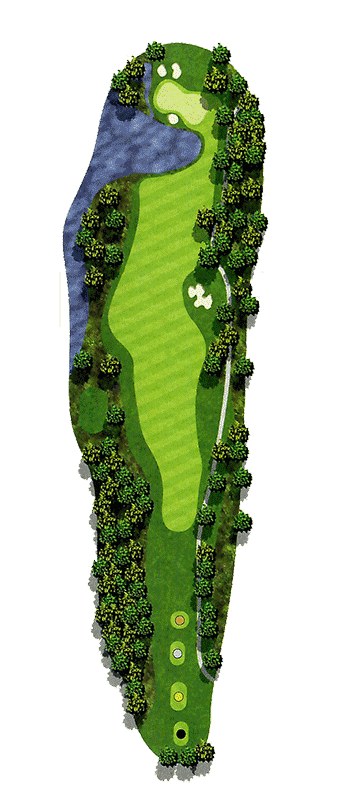
The back 9 starts with a dogleg left par 5. Take a line off the tee that's farther right than you think. Do you lay-up short of the creek at the base of the hill, or challenge the bunkers to reach the hillside? There is a creek left of the green for any who are too aggressive.

Hole 11 – Par 3 / HCP 15

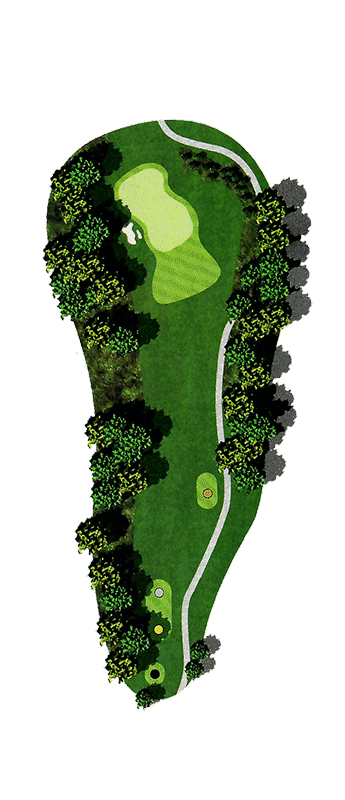
This long iron par 3 requires each player to decide whether to risk the steep left side with a long iron, or to favor the bailout on the right, which is a relatively easy chip, unless the pin is behind the ridge that bisects the green.

Hole 12 – Par 4 / HCP 11

The obstructive tactics on this hole are not obvious, but the approach to the green is actually better from the left side of the fairway, not the right as might be presumed.

Hole 13– Par 3 / HCP 17

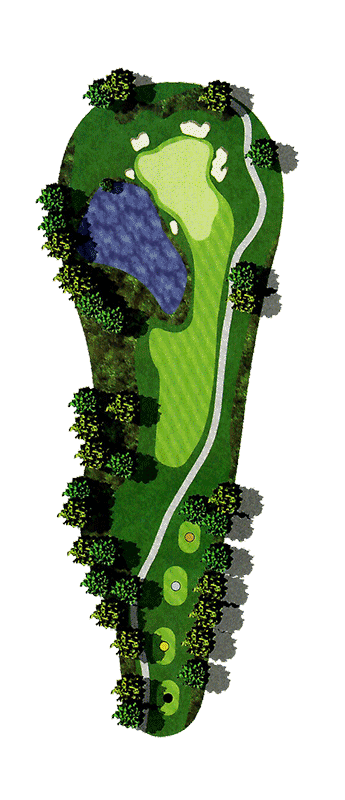
For this par 3, it's best to avoid the pond and bunkers that surround the multilevel green.

Hole 14 – Par 5 / HCP 3

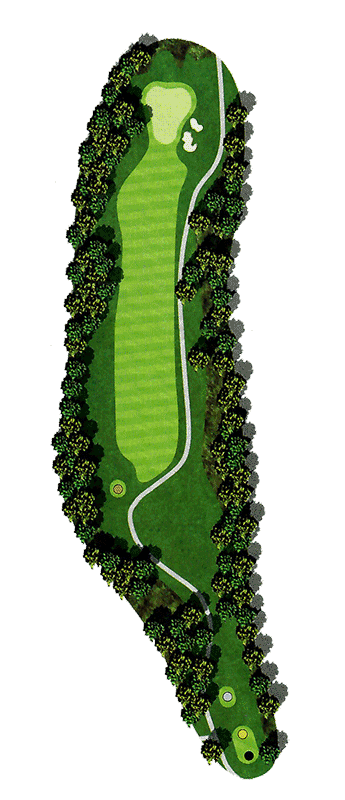
The player's discipline will be called into question on this double dogleg par 5, as the risks of being overly aggressive might be greater than the rewards.

Hole 15 – Par 4 / HCP 13

Welcome to the hills of east Texas! This challenging hole has a steady climb to the highest point on the course on this uphill dogleg right. On the way, take aim at the fairway bunker in the distance for the safe tee shot.

Hole 16 – Par 4 / HCP 1

Too far right and you find the trees; too far left and it is through the fairway toward the creek. You should carefully select your strategy for the second shot depending on the hole location.

Hole 17 – Par 4 / HCP 7

In this case there are two tables, the one at the crest of the hill for the tee shot; the other tabletop is the green, which sits near the top of the next hill.

Hole 18 – Par 4 / HCP 9

Finish strong! You should not relax too early as the second shot to this narrow green requires as much precision as any on the course.


Explore More

Stay

Our lakeside cottages offer the amenities of home and a perfect view.

Motivate

Capture everyone's attention during the event and after.

Explore

Use our interactive map to explore Rayburn Resort.